How to Install a Keyless Slider Lock on Your Garage Door (Homeowner DIY Guide)
Your garage door is one of the most frequently used entry points into your home—and also one of the most vulnerable. While automatic openers add convenience, they’re not always the most secure. Thieves can exploit weak points in traditional systems, sometimes breaking in within seconds.
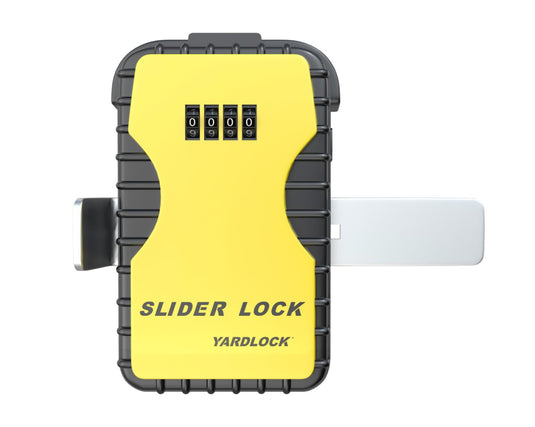
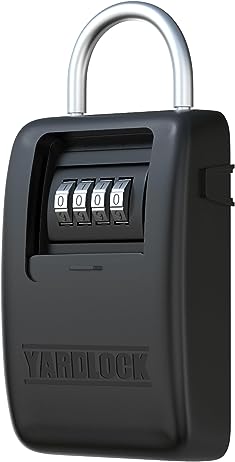
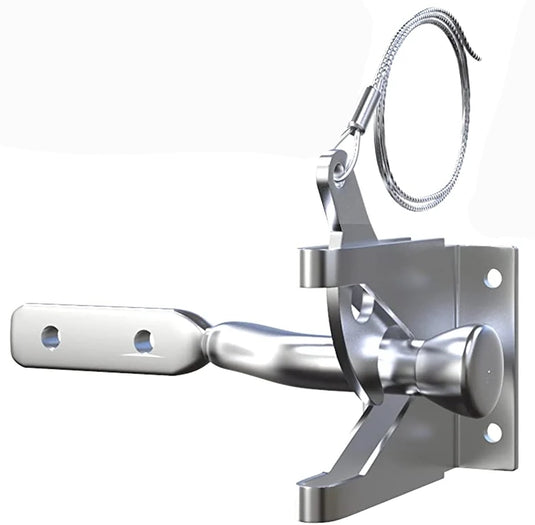
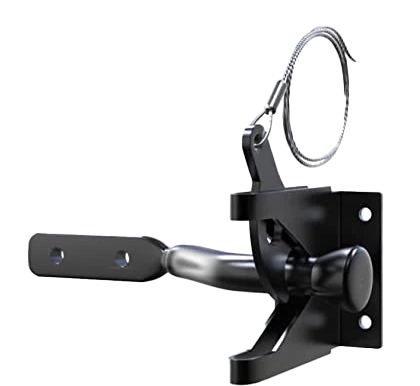
That’s why many homeowners are upgrading to mechanical keyless slider locks. Unlike padlocks or electronic keypads, these locks are battery-free, weather-resistant, and simple to use. With no keys to lose or electronics to fail, they provide dependable security for sectional and sliding garage doors.
In this guide, we’ll walk you through everything you need to know about installing a keyless slider lock on your garage door, including:
-
Why slider locks are the best option for garage security.
-
Tools and prep before installation.
-
Step-by-step installation instructions.
-
Safety tips and maintenance advice.
Why Choose a Keyless Slider Lock?
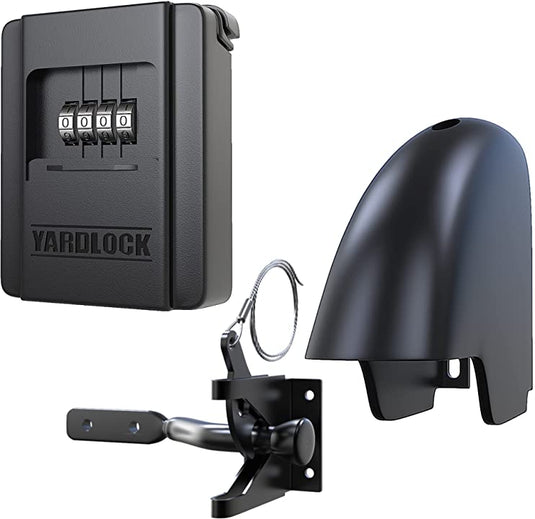
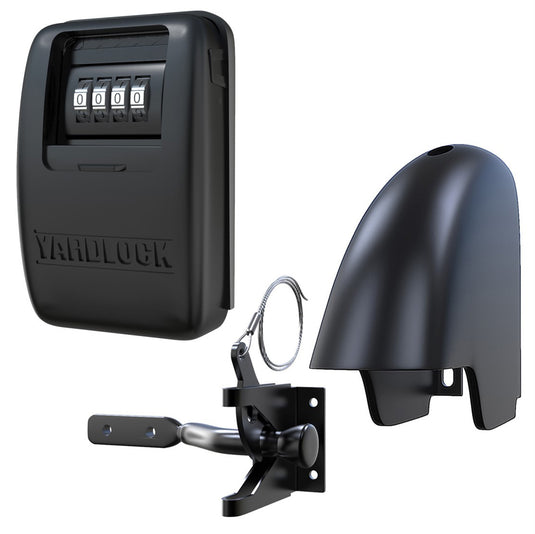
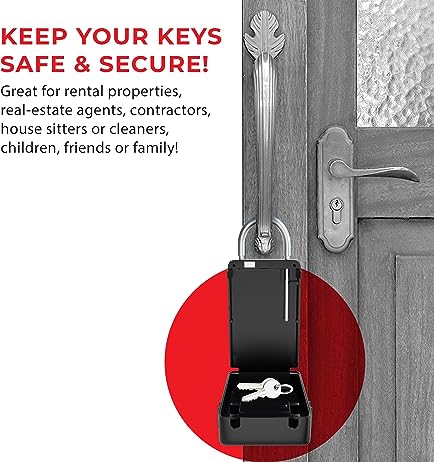
Garage doors are a common target for burglars because they’re often overlooked. A keyless slider lock (like the YARDLOCK Garage Slider Lock) is designed to strengthen this entry point without adding complicated electronics.

Benefits of Keyless Slider Locks:
-
No Keys or Batteries – Works mechanically in any weather.
-
Stronger Security – Prevents the door from being lifted or forced open.
-
DIY-Friendly – Easy to install with standard tools.
-
Child & Pet Safety – Keeps the garage secure from unintended access.
-
Durability – Made for long-term outdoor use, resisting rust and wear.
Tools & Materials You’ll Need
Before you begin installation, gather these tools:
-
Drill + bits
-
Measuring tape
-
Pencil or marker
-
Screwdriver
-
Level
-
Wrench set (if required by your lock model)
-
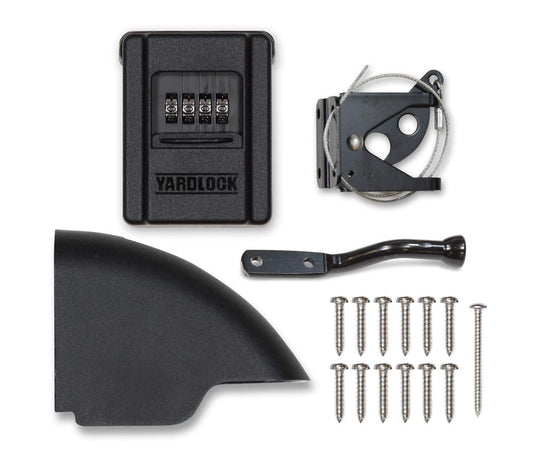
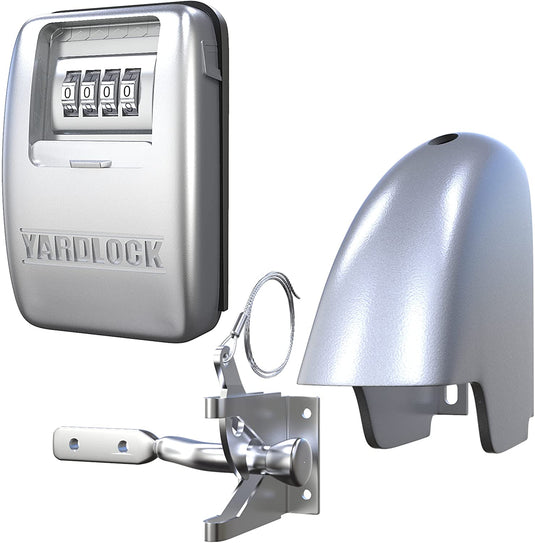
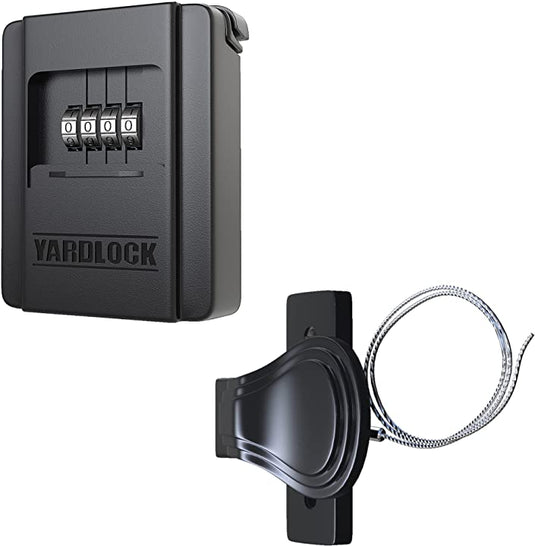
The slider lock kit (YARDLOCK or equivalent)
Here’s a DIY video for installing slider lock
Step-by-Step Guide to Installing a Keyless Slider Lock
✅ Step 1: Choose the Mounting Location
-
Identify the best spot on your garage door track where the slider bar will lock securely into place.
-
Typically, the lock is installed about halfway up the garage track, but follow manufacturer guidelines.
-
Ensure the chosen spot allows smooth sliding and full door closure.
✅ Step 2: Mark the Drill Points
-
Hold the lock bracket against the garage track.
-
Use a level to ensure it’s straight.
-
Mark the pilot hole positions with a pencil.
✅ Step 3: Drill Pilot Holes
-
Use the drill and appropriate bit size for your fasteners.
-
Drill carefully to avoid damaging the track or weakening the frame.
✅ Step 4: Install the Lock Bracket
-
Attach the main bracket using the provided screws or bolts.
-
Make sure it’s flush against the track and securely fastened.
✅ Step 5: Attach the Slider Bar
-
Insert the slider bar into the bracket.
-
Test its movement to ensure it slides smoothly into place when locking.
-
Adjust alignment if necessary.
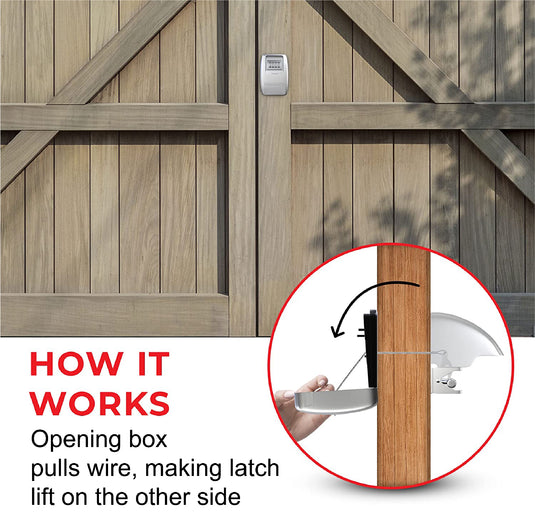
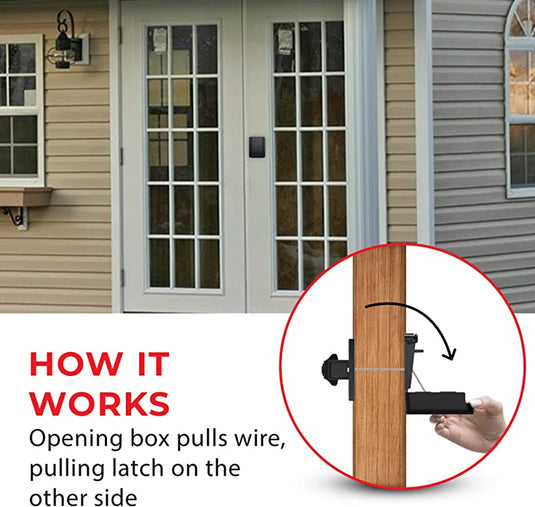
✅ Step 6: Secure the Locking Mechanism
-
Depending on your model, this may involve tightening additional screws, attaching a handle, or installing a protective cover.
-
Confirm that the slider fully blocks the garage door track when engaged.
✅ Step 7: Test the Lock
-
Open and close the garage door several times.
-
Engage and disengage the lock to confirm smooth operation.
-
If it feels tight, loosen screws slightly and re-level.
Safety Tips During Installation
-
Disconnect Power – If your garage door has an automatic opener, unplug it before installation to avoid accidental movement.
-
Use Protective Gear – Wear safety glasses when drilling.
-
Check Clearance – Ensure the lock does not interfere with the door’s travel path.
-
Follow Local Codes – In some areas, garage security must meet specific standards (especially for rental or multi-family homes).
Maintenance Checklist for Garage Slider Locks
Even though keyless slider locks are low-maintenance, following this simple routine ensures long-term performance:
-
Lubricate Seasonally – Apply a silicone spray or graphite lubricant to moving parts twice a year.
-
Inspect Alignment – Garage doors shift slightly over time. Re-tighten screws if alignment is off.
-
Clean Regularly – Wipe down the lock to remove dust, dirt, or salt buildup.
-
Test Monthly – Open/close the door and engage the lock to ensure it works properly.
Why a Keyless Slider Lock Beats Other Options
-
Padlocks – Easy to cut or pick, and they rust in damp garages.
-
Electronic Keypads – Convenient, but require batteries or wiring, and may fail in extreme weather.
-
Standard Latches – Often flimsy and not designed to resist forced entry.
The keyless slider lock offers the best balance of security, convenience, and durability.
Frequently Asked Questions
Do I need professional installation for a keyless slider lock?
No. Most homeowners can install a keyless slider lock with basic tools in under an hour by following the manufacturer’s template and instructions.
Can I still use my automatic garage door opener with a slider lock installed?
Yes. The lock engages only when you slide it into place. Always disengage the lock before operating the opener to avoid damage.
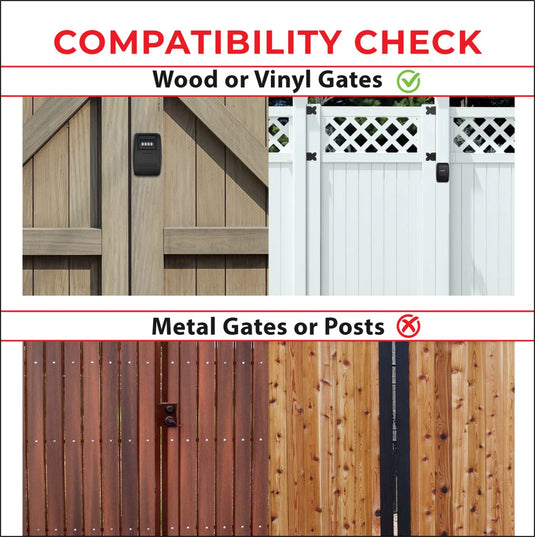
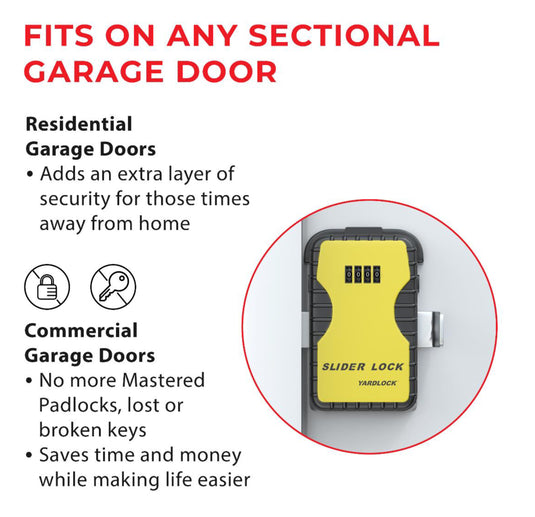
Will a keyless slider lock work on my garage door?
Keyless slider locks are designed for most sectional and roll-up garage doors. Check compatibility with your track size and door type before purchase.
Is a slider lock stronger than a standard latch or padlock?
Yes. A slider lock blocks the garage door track to prevent lifting, offering greater resistance to forced entry than typical surface latches or padlocks.
What maintenance does a keyless slider lock require?
Minimal maintenance: wipe down the lock periodically, lubricate moving parts with silicone or graphite twice a year, and recheck alignment and fasteners seasonally.
Where should I mount the slider lock on the garage door track?
Mount it at a manufacturer-recommended height on the vertical track where the slider fully engages the rail without interfering with door travel. Use a level and mark pilot holes before drilling.
Are there safety steps I should follow during installation?
Yes. Disconnect power to the garage opener, wear eye protection when drilling, confirm the lock does not obstruct the door path, and test operation with the opener disengaged first.
How long does installation take for most homeowners?
Typically 30–60 minutes, depending on door type, tool familiarity, and whether adjustments to track alignment are needed.
Final Thoughts
Your garage door is a major access point to your home—don’t leave it vulnerable. Installing a keyless slider lock is one of the simplest and most effective ways to secure it.
With a little DIY effort, you’ll have a lock that’s:
-
Keyless (no lost keys or frozen locks).
-
Battery-free (no electronic failures).
-
Weatherproof (built for long-term use).
-
Strong & Secure (designed to block forced entry).
Whether you’re protecting your vehicles, tools, or family safety, a keyless slider lock is a smart investment.
Take an hour this weekend, follow this guide, and give your garage the security upgrade it deserves.